In this post, I’ll explore the viewBox attribute in the <svg> HTML tag. I’ll use examples from the MDN documentation, applied to SVGs on this website’s home page.
Introduction
Before starting, it’s worth noting that SVGs are an extremely rich feature deserving extensive reading. The MDN documentation does an incredible job providing both Tutorials and Guides covering all attributes and features you’ll need to create and use SVGs.
With that said, we can move on into how to display it.
Embedding
SVGs are written in markup and can be embedded in XML, HTML, inside an <img> tag as static content, in an <iframe>, or referenced as an <object>.
Choosing between these options involves weighing pros and cons. I’ll focus on rendering as an HTML tag versus loading as a static image.
Static Image
Pros:
- Clean HTML
- Cacheable
Cons:
- Limited access:
- Can’t change colors of particular elements (lines, shapes)
- Can’t have full control of elements during animations
HTML Tag
Pros:
- Full control
- Easy to debug and understand contents
Cons:
- Larger HTML
- No caching
Since this site requires mirroring, flipping, scaling, and animating SVGs, I chose the HTML tag approach despite the HTML size impact.
viewBox
If you experiment with an SVG from sites like Undraw, Freepik, or your favorite icon library, you’ll probably notice a viewBox attribute like viewBox="0 0 500 500".
The documentation says:
“The
viewBoxattribute is a list of four numbers separated by whitespace or comma: min-x, min-y, width, and height.”
I find this explanation confusing for these reasons:
min-xandmin-yare coordinates, not lengthswidthandheightare also available as separate attributes… what gives?!
Canvas
Think of an SVG as a canvas. The values in viewBox are the top-left and bottom-right points of your canvas window.
The numbers don’t matter much because SVGs are Scalable—meaning the coordinates could be pixels, centimeters, etc., determined by other factors (like width or height). By default, one unit matches one pixel in your viewport.
These coordinates only matter if the content inside has its own coordinates. For example:
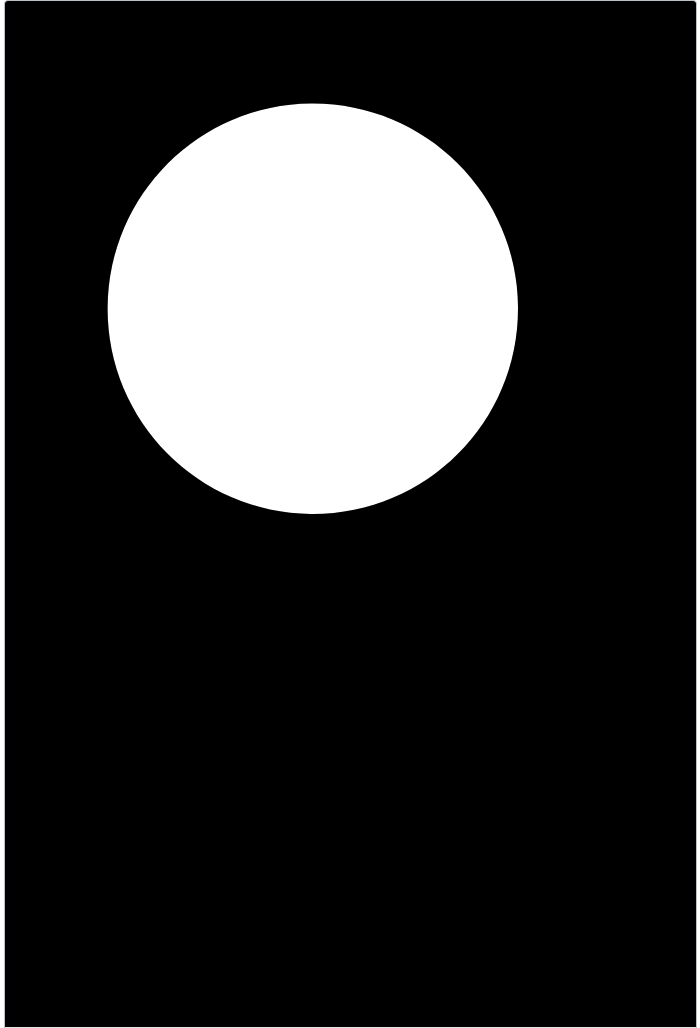
<svg viewBox="0 0 10 10" xmlns="http://www.w3.org/2000/svg">
  <rect x="2" y="2" width="100%" height="100%" />
  <circle cx="50%" cy="50%" r="4" fill="white" />
</svg>

You can see that the rectangle starts 2/10ths from the top and left corner. If I change the viewBox="2 2 10 10", the rectangle now starts at the top of the canvas. If instead I set viewBox="6 6 10 10", I see the rectangle’s end and starting point in its middle. In conclusion, the first 2 values define the window location into what’s inside the canvas.

Now let’s explore changing the second pair of values. Setting viewBox="0 0 30 30". You’ll notice the coordinates don’t actually change; instead you zoom. Notice the zoom differs for the rectangle and circle. That’s because the circle now has a radius of 2/30 instead of the original 2/10. If you change to viewBox="6 6 30 30", the rectangle still closes in the same location.
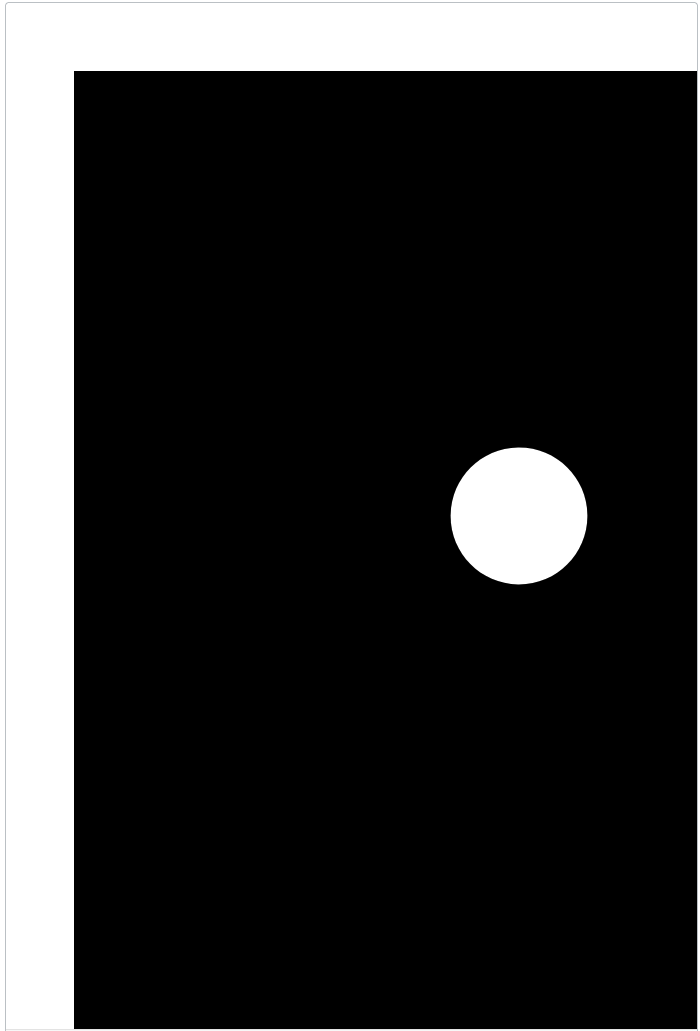
You have 2 different behaviors. Objects with absolute configuration like r="2" will show canvas zooming. Objects without absolute configuration won’t change. Relative content adapts; absolute content stays unchanged (window adapts).
Fixed dimensions
Now let’s see how setting fixed height and width impacts the changes above.
<svg height="100" width="100" viewBox="0 0 10 10" xmlns="http://www.w3.org/2000/svg">
  <rect x="2" y="2" width="100%" height="100%" />
  <circle cx="50%" cy="50%" r="4" fill="white" />
</svg>
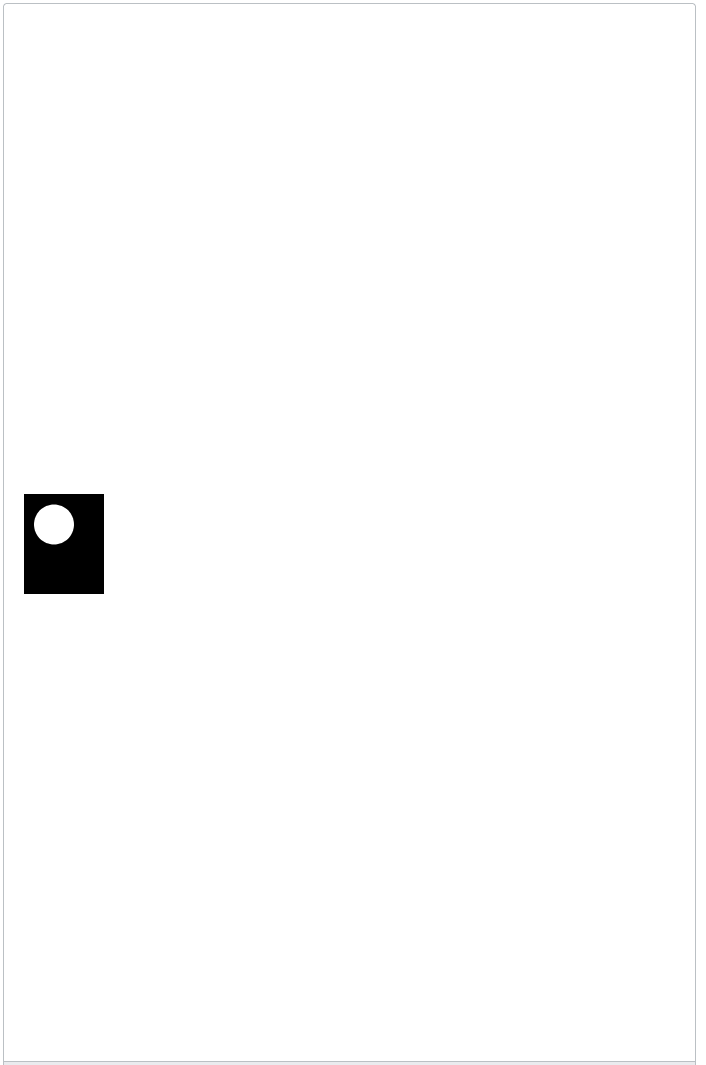
The first thing you’ll notice is the SVG is tiny. Setting fixed values for the window means the default 1 unit to 1px has changed to 1 unit to 0.1px (10/100).
Changing the first and second pair shows the same behavior as before, only with the SVG scaled to a different dimension.
Recipe
If you’re working with SVGs on your website, here’s the recipe I’d follow:
- Define output box dimensions via
heightandwidthto set the correct SVG scale - Adapt the coordinates for the object
- Scale the inner content inside the canvas (if applicable)
Conclusion
I hope this clarified some doubts about SVGs. My suggestion for learning how such tools work is to simply experiment. The MDN playground is a great place to start.